I got started with algorithmic art simply because I wanted to push my Python skills further. Online tutorials are great, and I have a stack of Udemy courses that I never seem to finish, but I’ve found I learn best when there’s a real goal to work toward—something creative and a little open-ended. I also took a lot of inspiration from Tyler Hobbs and his long-form generative art, particularly his helpful articles and talks.
Over time, this exploration turned into a series of projects, each one representing a different letter of the alphabet. “Zara,” the latest in the series, is in some ways just another experiment—yet it also feels like the culmination of a long journey filled with trial, error, and plenty of “aha” moments. In all honesty, I’m not a huge fan of the final result. Some of my other projects have led to that “wow, that’s cool” feeling, while others (including this one) ended up being more about the learning. Both types are valuable, though. For me, the journey is always more important than the destination.
Thanks for reading New Pathway! Subscribe for free to receive new posts and support my work.
Subscribed
For this final, static project, I wanted to capture my journey and revisit some of the choices I made. Partly to share, but mostly as a guide for future me.
Artistic Vision
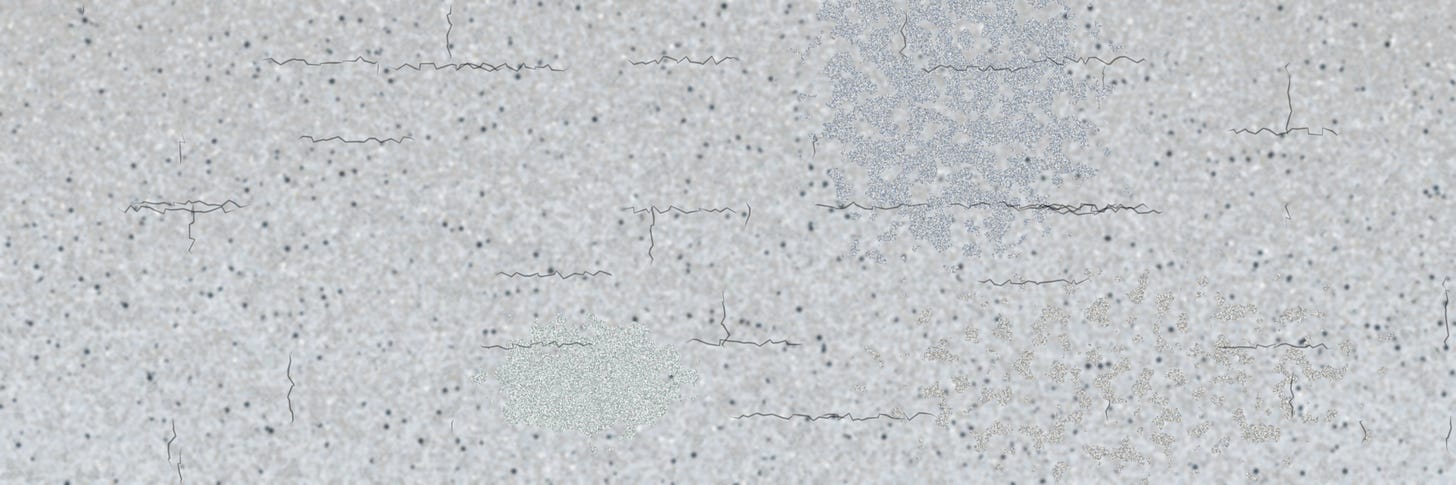
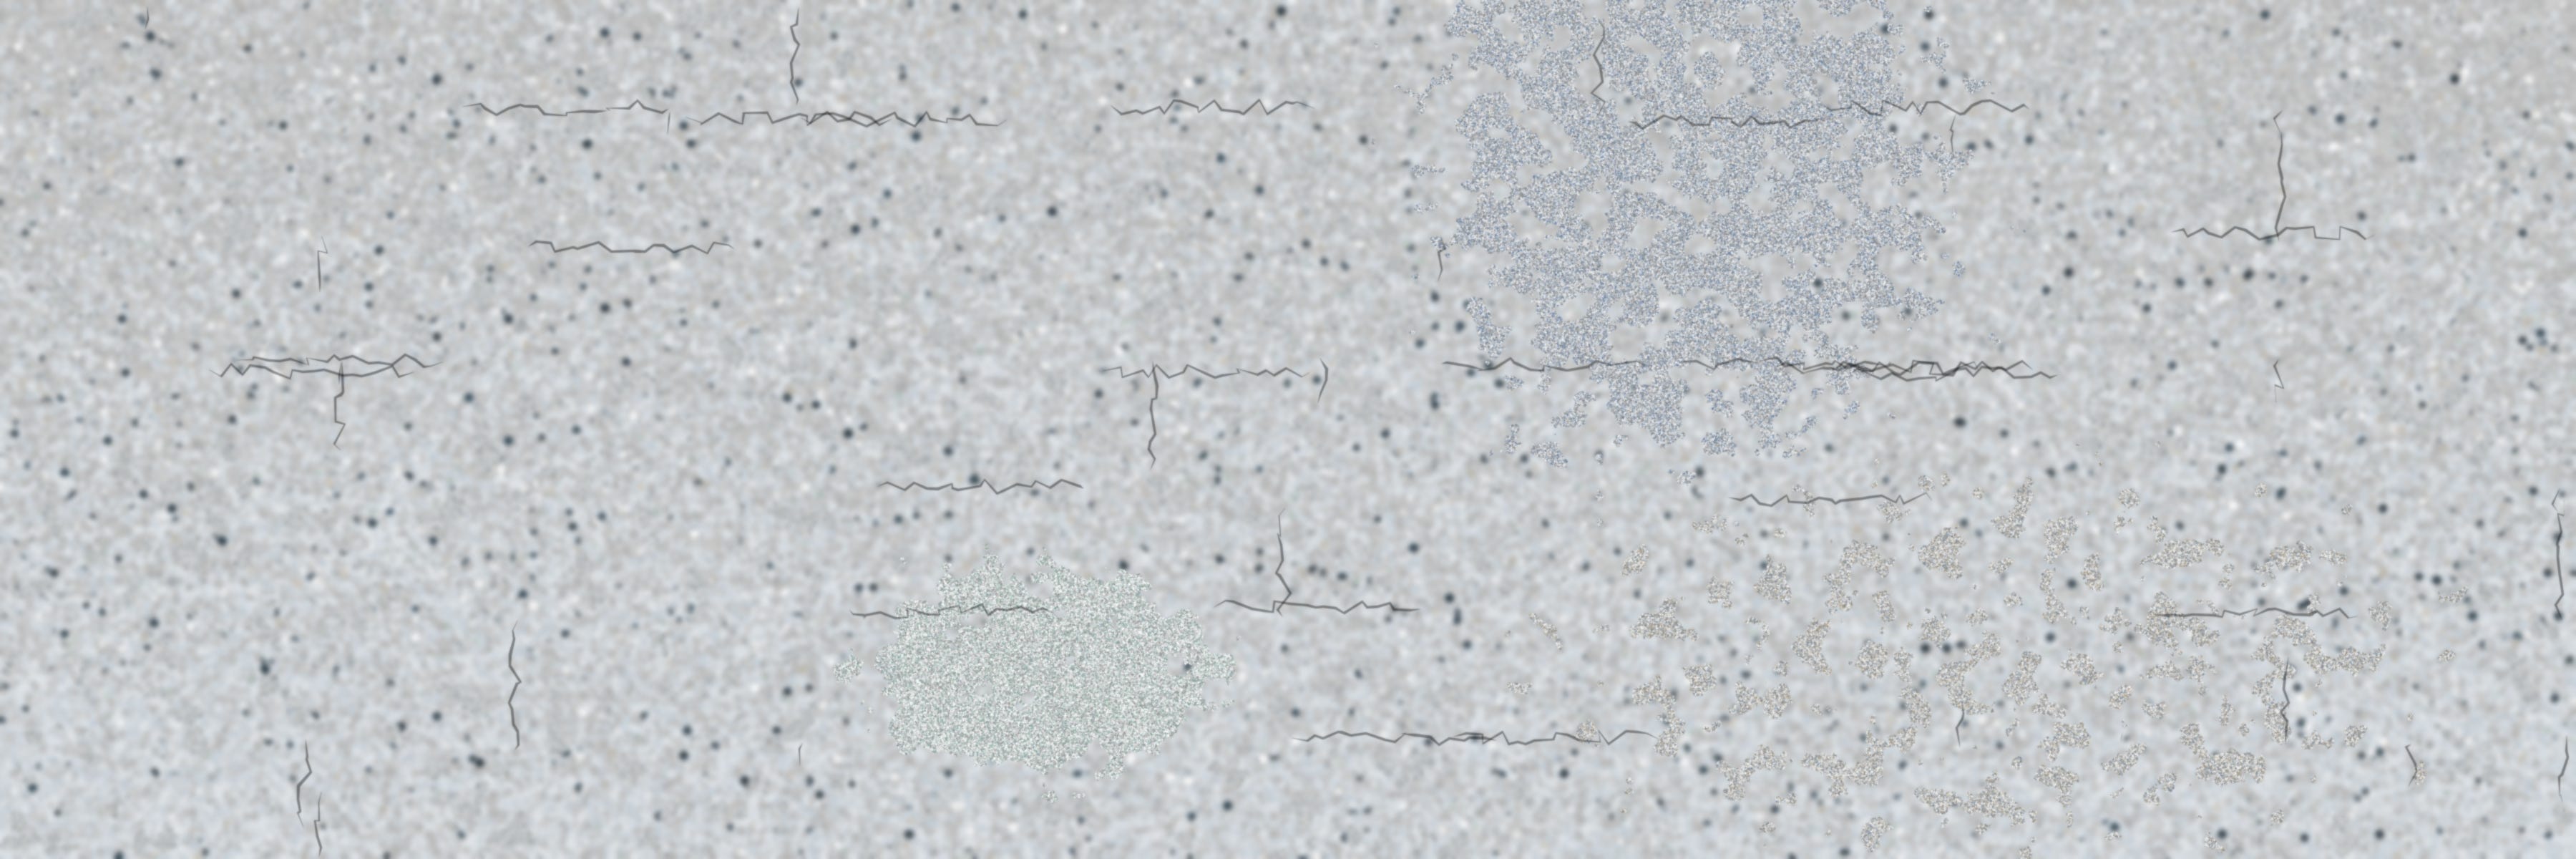
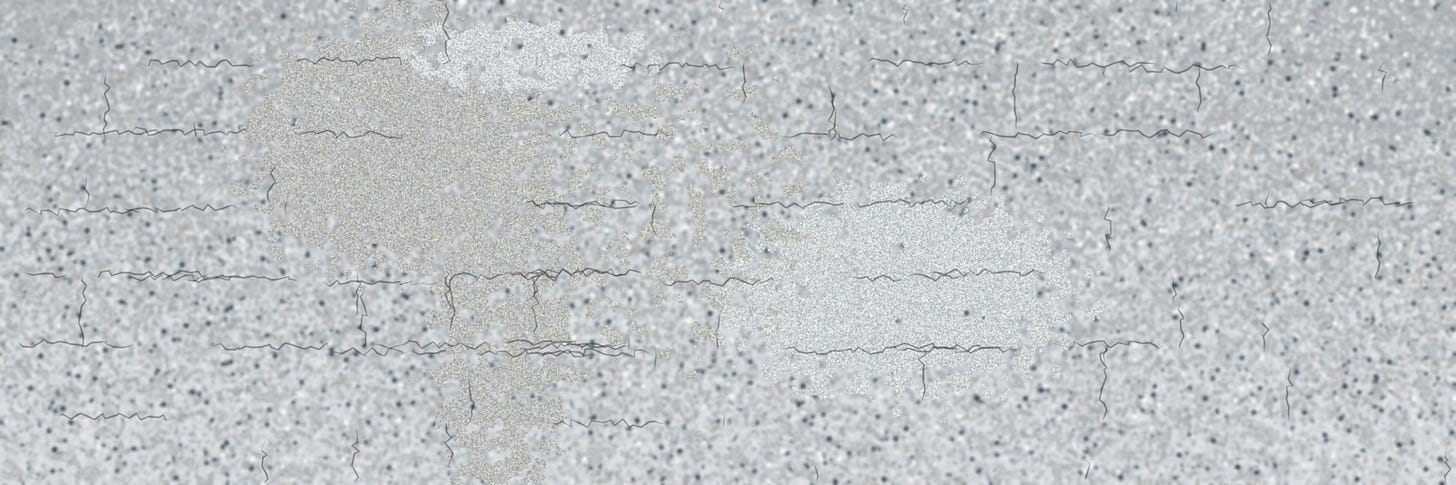
With Zara, I set out with one main goal in mind: capturing the raw, tactile feel of concrete. I dove into various texture libraries and spent hours studying samples. It wasn’t about replicating a look perfectly; it was more about distilling the essence of textures into a few key elements:
-
Base Colour Layer: A subtle foundation that captures the natural hues of stone.
-
Noise Texture: Introducing randomness to mimic the inherent irregularities.
-
Crack Patterns: Adding a bit of character, like the gentle wear of time on concrete.
-
Grunge Patterns & Scratches: Infusing imperfection and life into the piece.
-
Final Noise Overlay: A unifying touch that blends all the layers together, creating a cohesive final image.
These elements gave me a guide for what each layer needed to contribute to the overall image—essentially acting like sequential building blocks for the final texture.
[
Design Structure & Tools
Setup—Folders and Supporting Tools
Over the course of these mini-projects, I’ve adopted a standard way of setting up my files:
Project Folder
┣ Code
┃    ┣ main.py
┃    ┣ utilities.py
┃    ┗ classes.py
┣ Assets
┗ Output
Code goes in one folder, external assets (if there are any) in another, and the outputs for the script in a third. There are probably better approaches, but this one has served me well enough that it’s now ingrained in my workflow.
Typically, I keep main classes and functions in separate files, then import them into main.py. This structure helps me find relevant pieces of the code faster. For my own workflow and the general size of my scripts, it works nicely.
Other key tools I use:
-
Git for versioning
-
venv (virtual environments) for keeping dependencies separate
-
NeoVim for coding
Base Libraries
For Zara, I knew I wanted to produce a static image with the flexibility to scale it up to any size. That led me to these base libraries:
-
Pillow (the friendly fork of the original PIL) for standard image manipulation.
-
aggdraw for high-performance, anti-aliased drawing capabilities.
-
svgpathtools for handling scalable vector paths so I could work with infinite scaling in mind.
In addition to Pillow, aggdraw, and svgpathtools, I relied on a few other Python libraries to bring Zara to life. The built-in random module adds that needed unpredictability for placing elements, while NumPy handles more complex array operations and math. Using math’s cos and sin functions, I create natural curves and offsets for a more organic feel. The noise library’s pnoise2 function generates Perlin noise, which brings in that realistic, random touch. Meanwhile, SciPy.ndimage offers Gaussian blur and edge detection to smooth out details and highlight cracks. With colorsys, I can easily manipulate colors for variety and depth.
Additionally, you’ll spot some standard imports that pop up in most of my projects. typing helps keep my code clean with type hints, uuid ensures each output image has a unique name, os handles file paths and directories, and matplotlib.pyplot helps me visualize and debug patterns. Put together, these libraries create a robust foundation, balancing creativity with technical precision, and enabling the layered, intricate textures that define Zara’s stone-like appearance.
Breaking Down the Code
Now, let’s step through the major code segments. I’ll highlight the areas that taught me a lot—or where a small idea sparked unexpected inspiration. I’ll link to my GitHub repo at the end, so feel free to explore the raw code and post questions if you’d like!
Imports and Constants
Following a common best practice, I keep all imports and key constants at the top of my code. It makes everything more discoverable—especially when adjusting parameters like canvas size or base color without rummaging through the whole script. Some examples you’ll see in Zara are name, version, SAVE_FLAG, SHOW_FLAG, width, height, base_colour, and base_grain_size.
Functions
After imports and constants, I move on to the core functions and classes that drive the project. Typically, these would be split across utilities.py and classes.py in my usual folder structure, but below I’ve outlined them as if they were in one file.
Texture Generation and Manipulation
These functions create and manage the noise-based textures that give Zara its organic feel:
-
generate_perlin_patches: Uses Perlin noise to identify interesting points on the canvas. -
points_thinning: Reduces the number of points by a given percentage, managing density. -
generate_perlin_area_points: Generates points in specific shapes (rectangle, triangle, ellipse), modulated by Perlin noise. -
spread_coordinates: Randomly offsets points within a max distance, creating more natural variation.
This controlled randomness is what makes textures feel less like a computer generated them and more like natural materials.
Block and Crack Pattern Generation
These functions add structure reminiscent of brickwork and cracking concrete:
-
create_block_array_with_gaps: Forms a 2D array representing blocks (think of brick patterns), inserting gaps. -
generate_fixed_line_points&generate_multiple_lines: Produce lines that replicate natural cracks across those blocks.
By placing cracks according to these structured arrays, I introduce a level of realism—like worn concrete that has fractured over time.
Utility Functions
In a project like Zara, there are always small, helper functions that keep the main code clean:
-
generate_random_position: Finds a random position on the canvas without overlapping existing patches. -
save_n_show: Saves or shows the final image based on configuration flags. -
switch_coordinate_order: Swaps x and y in a coordinate tuple. -
draw_dict_constructor: Creates dictionaries with drawing parameters. -
shade_variation: Adjusts lightness and saturation for subtle color differences. -
select_random_colour: Samples a color from a reference image around a given point. -
generate_coordinates: Produces a grid of points across the canvas.
Each of these plays a small but crucial role, whether it’s randomizing positions or preserving clarity in the main logic.
Drawing Functions
These are responsible for rendering the grains, textures, and cracks on the canvas:
-
draw_shapes_dict: Draws shapes from a list of path dictionaries. -
generate_crack_paths/create_crack_path: Craft intricate crack lines using jittered Bezier curves. -
draw_grains_ref_image&draw_grains_palette: Draw circular “grains” using either a reference image or a predefined palette. -
generate_coloured_bands: Creates wavy, colorful bands and random circles, often used to sample colors.
You can think of them as painters applying different brushes and textures, layering up the final image.
[
The Importance of Typing and Docstrings
One of the most unexpectedly helpful practices I embraced with Zara was the use of type hints and docstrings. While Python doesn’t require explicit types, specifying them has really improved clarity—and saved me from a fair share of head-scratching bugs.
Embracing Type Hints
Type hints make it instantly clear what data each function expects and returns. Tools like mypy then step in to catch any mismatches, preventing certain bugs before they happen. Plus, editors leverage those hints for better autocompletion, so I find myself coding faster and more confidently.
Crafting Meaningful Docstrings
Docstrings go hand-in-hand with type hints. They provide an at-a-glance overview of what each function does, why it exists, and what its parameters and return values are. When I circle back to this code a few months from now, I’ll be thankful I took the extra time to document it. Not to mention, if anyone else wants to explore the code, docstrings make the learning curve much friendlier.
Main Execution Flow
The main function orchestrates the entire generative process. It does everything from creating the canvas to layering on texture and cracks:
-
Canvas Creation: Starts with a base color and blank slate.
-
Color Band Generation: Produces a reference image of colorful bands to sample from.
-
Base Grain Drawing: Lays down the first set of grains.
-
Blemish Generation: Adds subtle blemishes with Perlin noise.
-
Perlin-Based Patch Generation: Creates shaped patches with texture.
-
Block Array and Crack Lines: Structures the canvas with brick-like patterns and cracks.
-
Final Blending: Applies Gaussian blur and noise overlays to merge the layers.
-
Saving and Displaying: Handles file output and optional display windows.
Think of main as the conductor. Each function is an orchestra member, and main keeps everything in tune, ensuring each layer flows into the next to create a cohesive, stone-like finish.
[
Final Thoughts: Reflection and Next Steps
While Zara may not be my favorite outcome visually, it represents exactly what I love about generative art: a process filled with learning, experimentation, and the occasional happy accident.
What I take away from this project goes beyond code. Yes, I picked up new tricks with type hints, docstrings, and library interactions, but I also learned how patience, curiosity, and openness to “imperfect” results can lead to richer, more authentic art. I’ve found that the best surprises happen when I loosen my grip on controlling every aspect and allow the algorithms—and randomness—to have a seat at the creative table.
To anyone interested in generative art, my biggest suggestion is to embrace the iterative process. Don’t be afraid to push boundaries, mix libraries, and experiment with shapes or parameters that might seem unconventional at first. In my experience, those are the moments where the code and the art meet in surprising, delightful ways.